BLACK & WHITE FLYING GEESE QUILT : THE RECIPE
This project all started when I learned about the AccuQuilt Go! system. I had heard bits and pieces about it, but when I finally got a full demonstration and understanding of it, I knew this was an incredibly useful tool that was going to make my life so much easier.
If you’re not familiar with AccuQuilt, it is a die cutting system designed for quilters with a huge range of dies that allow you to cut your fabric 90% faster than with a rotary cutter and with precision that can’t be beat. You can cut up to six layers of quilting cotton at once! When you see these cutters in action, you quickly see the value this tool brings to the table.
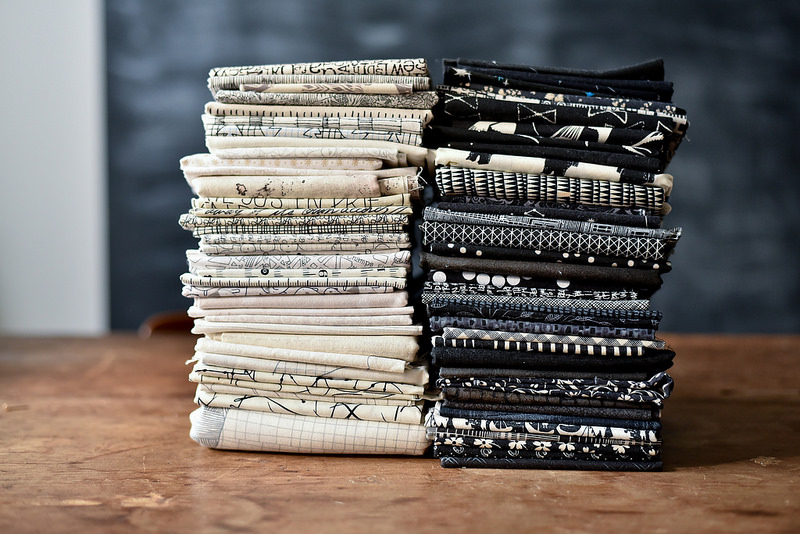
Two things on my quilt bucket list have been a flying geese quilt and a black & white quilt. The AccuQuilt Flying Geese die has inspired me to mash these two ideas together into one fun quilt.
I very rarely just start up a quilt project for no reason, but I was intrigued to see how quickly I could get this project cut out as my first AccuQuilt project. I decided to dive right in. Honestly, it took me longer to choose all my fabrics than it did to cut them out perfectly for this quilt.
I’m having so much fun with this project and I wanted to share my ‘recipe’ for this version of a Flying Geese quilt. It would be so easy to adjust the finished quilt size and colour palette, but this should give you a good starting point.
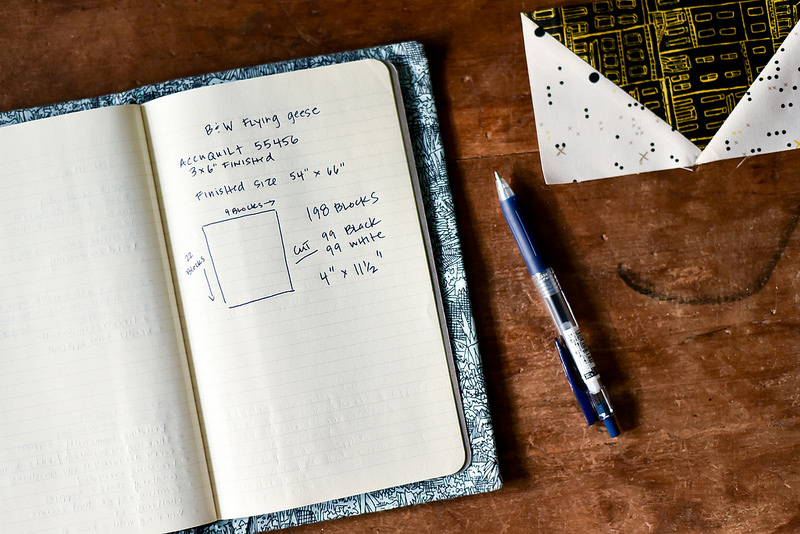
AccuQuilt Black & White Flying Geese Quilt
Finished size : approx. 54″ x 66″
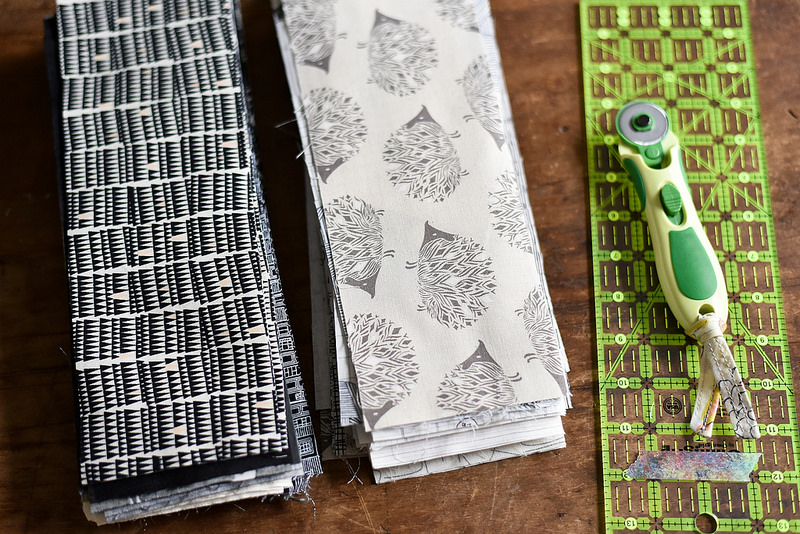
AccuQuilt Go Die 55456 – Flying Geese Finished Size 3″ x 6″
Layout : 9 blocks wide x 22 blocks high
Total Blocks : 198 Flying Geese Blocks
Cutting :
– Cut 99 black rectangles 4″ x 12″
– Cut 99 white rectangles 4″ x 12″
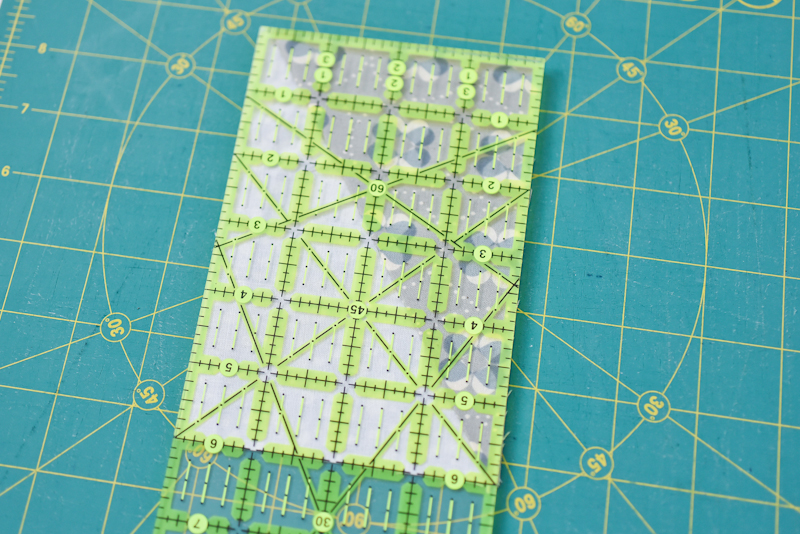
Helpful tool to have – 4″ x 14″ ruler for extra quick cutting
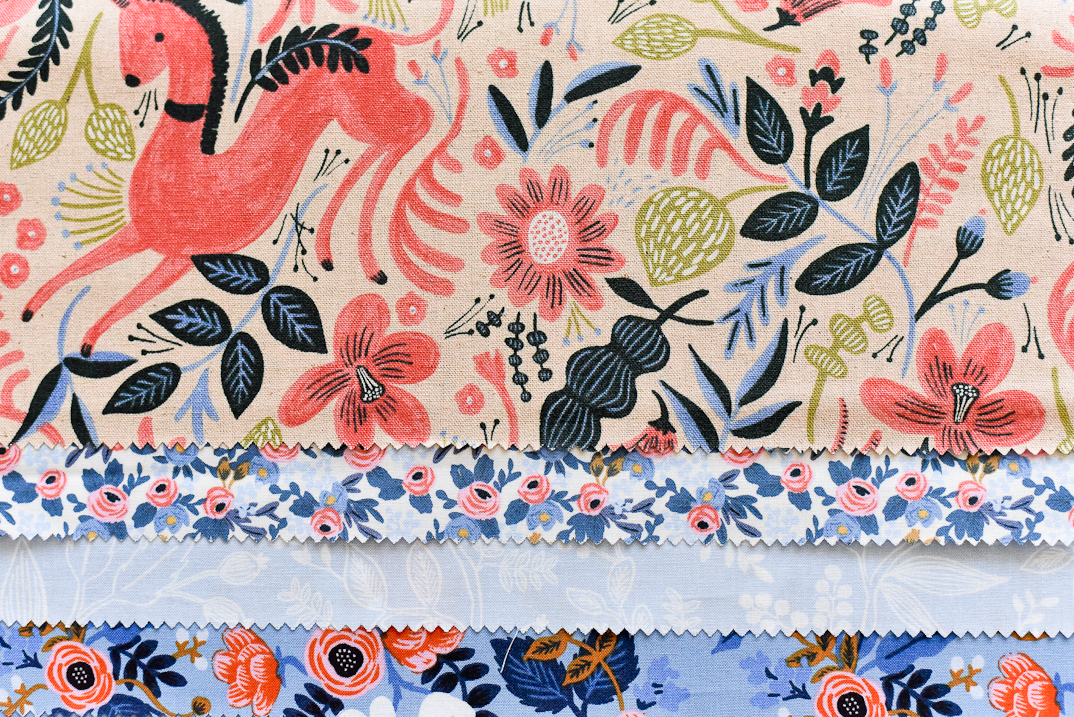
Notes : I cut slightly smaller rectangles (4″ x 11.5″) which worked, but the extra half inch that I’ve listed would have been more comfortable. I used about 50-60 different black prints and 50-60 different white prints. I’ve been collecting for a long time and I wanted to use as many as I could. This could be easily done with way less prints, or solids too!
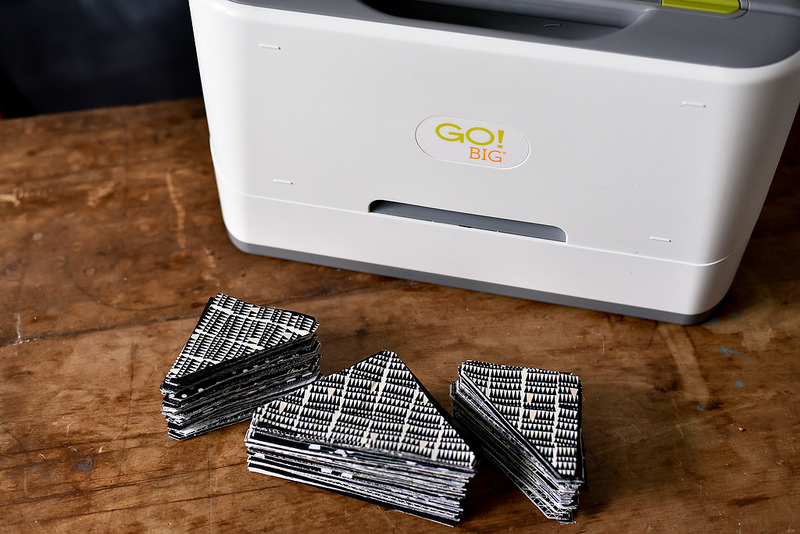
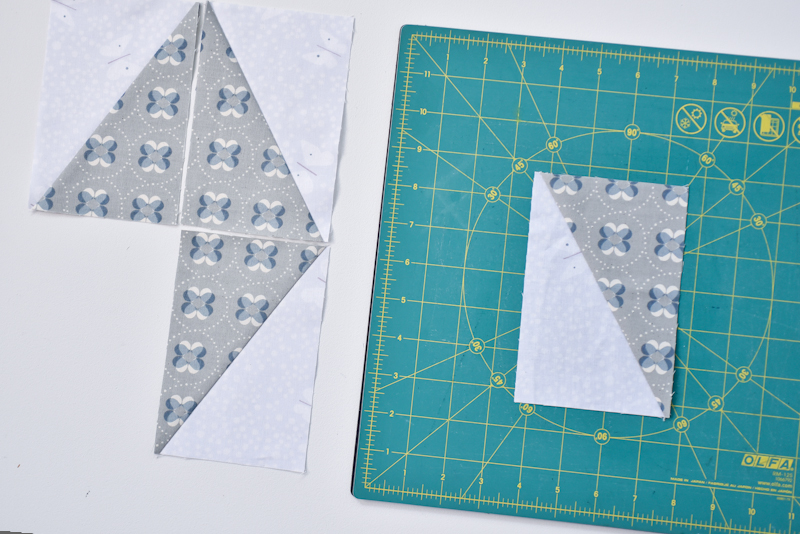
For faster sewing later, pair up your black and white rectangles as you would like them and stack them alternating black and white into one pile. Each rectangle will cut all 3 pieces for the flying geese and we’ll swap them out once it’s all cut with a simple trick.
AccuQuilt Cutting :
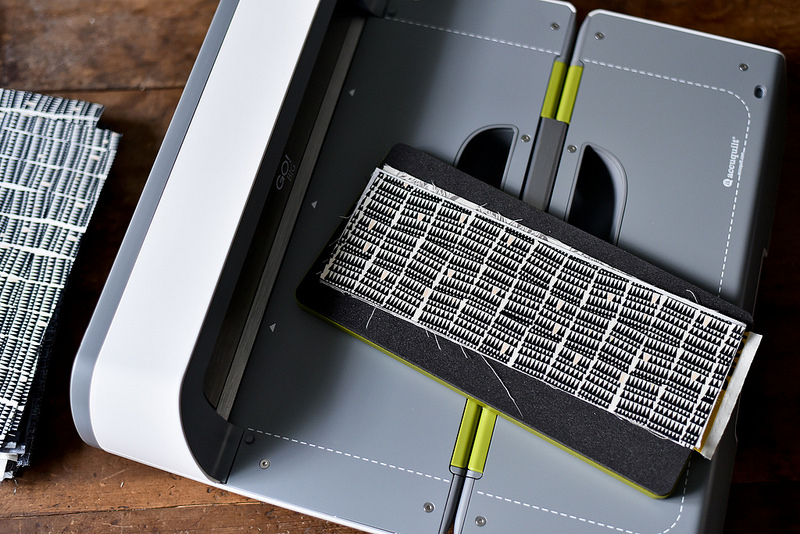
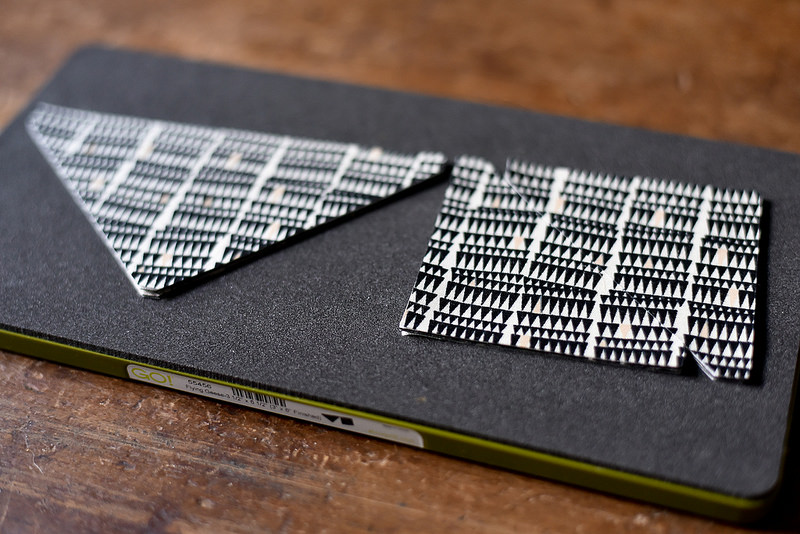
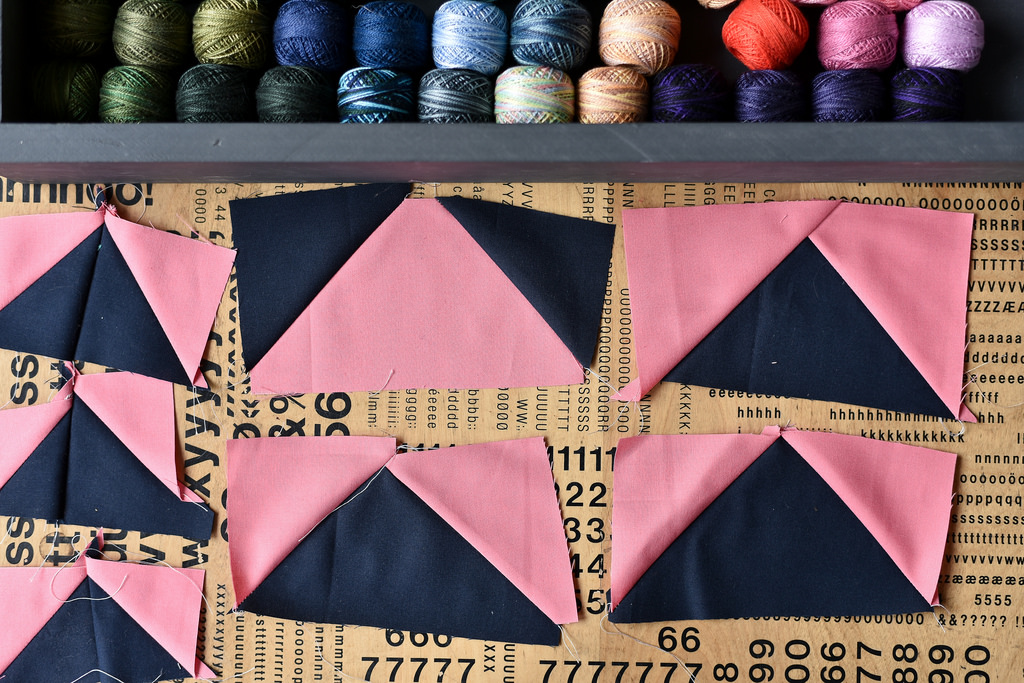
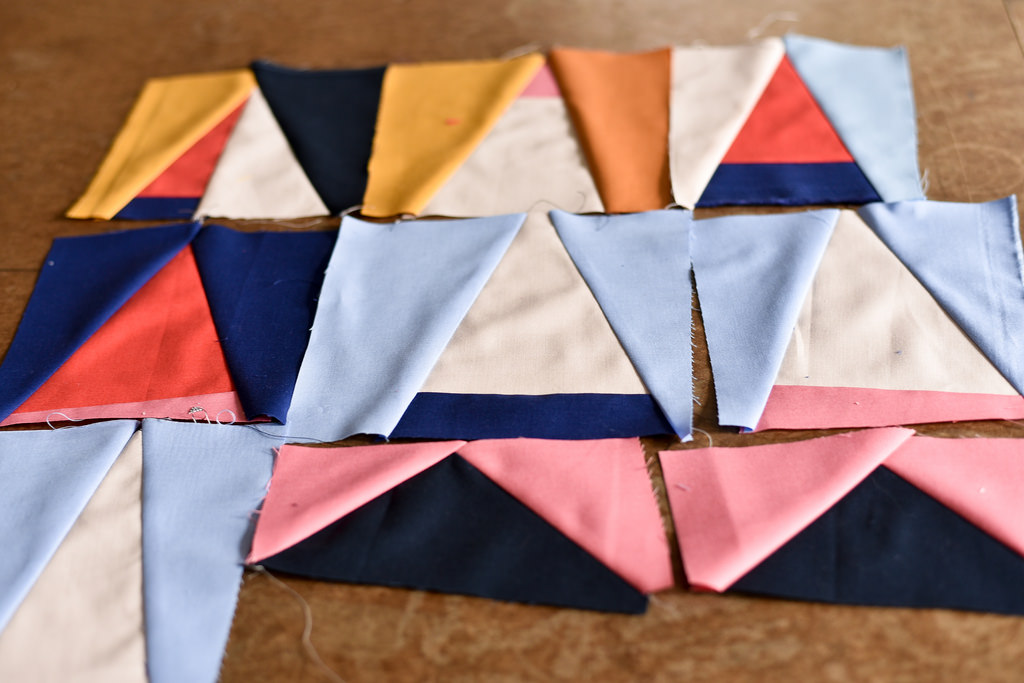
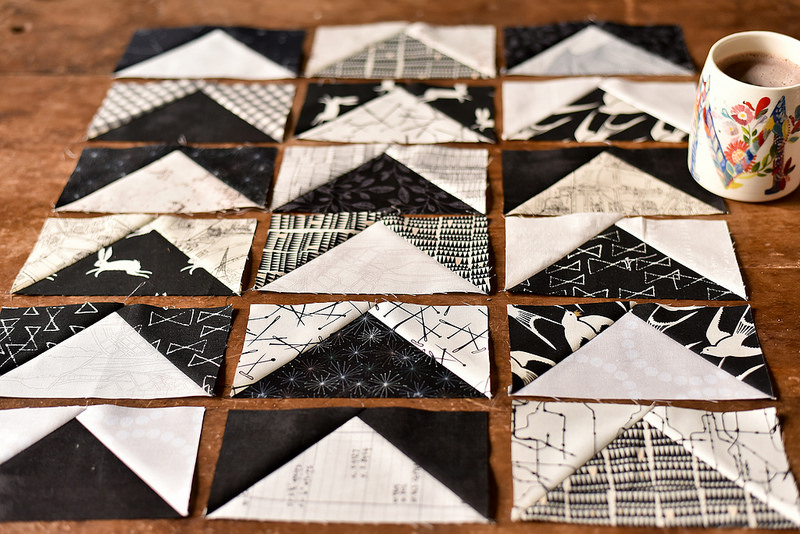
Layer six layers of rectangles on the Flying Geese Die at a time. Make sure you are keeping your alternate Black and White layers while you do this. With 198 rectangles this is 33 passes through the AccuQuilt Go! I used the Big Electric which meant that I could count out my next stack as it was running through the machine. It took me one hour to cut out all 594 pieces. ONE HOUR! What I especially love is that the die cuts off the notches on the triangles which means they line up perfectly and do not need any trimming once they are sewn.
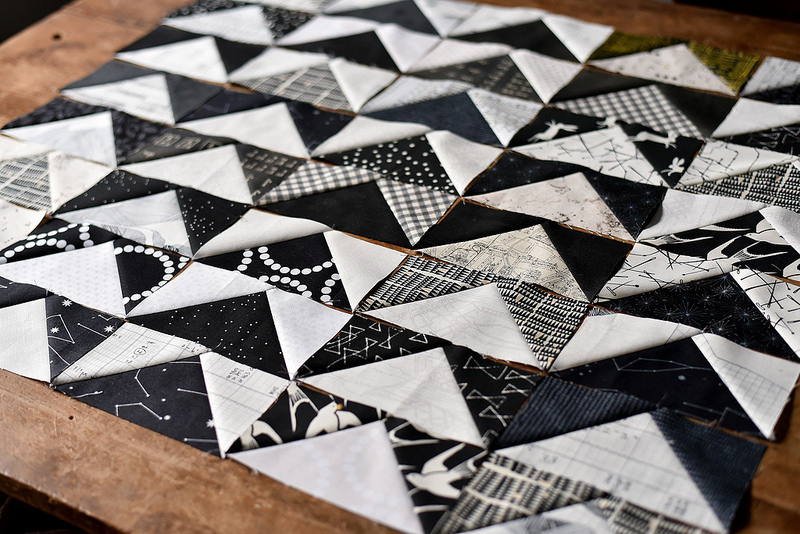
With your finished stack of pieces. Take the top middle triangle piece and put it at the bottom of that stack. Now your stacks are perfectly set up for sewing.
Assembly :
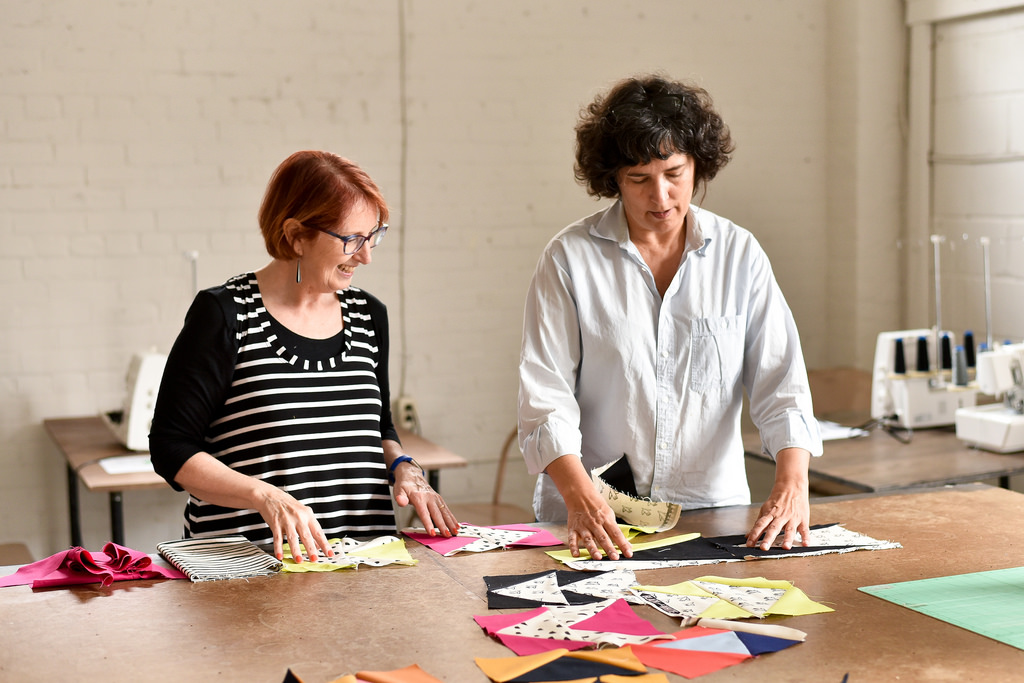
I recommend chain piecing the middle triangle to one of the side triangle first, then press out the side and chain piece the other side triangle after. I’ve decided to work in small batches of twenty at a time, but you could easily do larger batches, you just need to keep your order organized.
So far I’m blown away by how easy the sewing and pressing is going. Each block is perfect. To be honest, I haven’t been using pins, I just grab the pieces I need from my stacks and use the notches to line it all up. There is no guessing to make sure the pieces line up. They just do and then there is no further trimming down once I’m done. Perfectly cut pieces make for perfectly sewn blocks.
This tool is a game changer for me. I can see myself making more quilts because the AccuQuilt will make every step of the way more efficient and precise. I have so many ideas for what else I’m going to do with this fun die cutting system.
I’ll post back with my slow and steady progress report. Working in smaller batches more often is my new approach to incorporating more quilting into my life. So far so good.